Changing the colour of your home’s exterior can give it a fresh new look and boost its curb appeal. Our guide on how to paint a house exterior will help you achieve a good-looking, quality finish.
It’s no secret that a fresh coat of paint revives, protects and beautifies the exterior of a home.
Whether you decide to hire a pro or do it yourself, painting your house isn’t something you want to do often – which is why getting it right the first time is essential.
Consider these 9 important house painting rules to ensure a beautiful and long-lasting result:
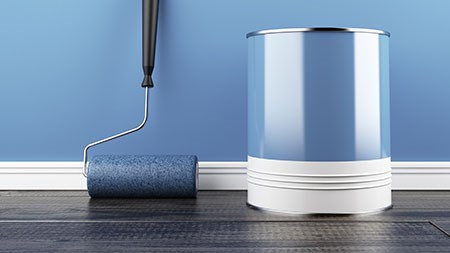
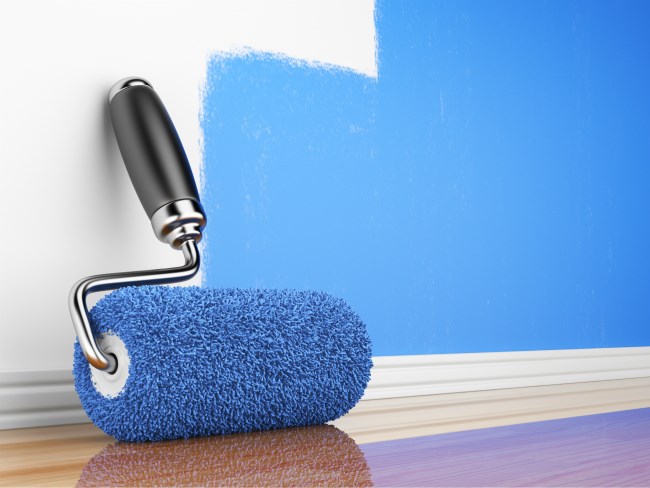
1. Choose quality materials
It’s important to not skimp when purchasing good-quality materials, like top-quality paint, primer, and caulking compound.
Like most house paint, you get what you pay for – and the best ones are generally expensive.
Using high-quality paint is essential as it lasts longer, flows, and covers better than poor-quality paint.
Another consideration worth making is to choose a paint that has a lifetime warranty against defects in the finish.
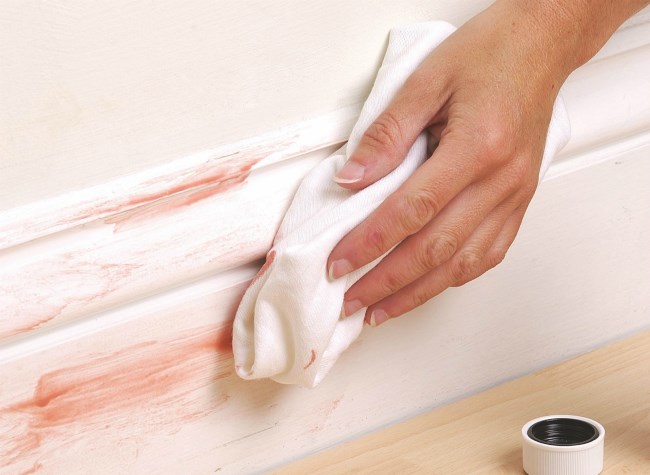
2. Prepare the walls
Preparing your walls for a new coat of paint is the single most important step in getting the job done correctly.
Proper preparation will save your time, money, and sanity in the long run.
For paint to adhere well, it must be applied to a surface that is clean, dry, and not flaking or peeling.
Be sure to wash off the surface of the wall before you begin. This is usually done by using a scrub brush, warm water, and a nonabrasive all-purpose cleaner.
All paintwork should ideally be washed with sugar soap before repainting.
Sugar soap is a chemical cleaner that works well as a priming solution to wash down the walls effectively.
Depending on the existing condition, a considerable amount of scraping and sanding may also be required before you can begin the painting process.
Remove any loose flaking paint with a scraper, followed by a rub down with sandpaper.
The idea isn’t to remove the paint off the walls entirely but to ensure a smooth surface by eliminating any loose paint which may exist.
Finish off the preparation process by using a putty knife to seal any cracks or holes which may exist.
Let the filler dry, and then sand down these areas again. Brush off all the dust, caulk the joints, and allow the caulk to dry before applying primer.
3. Beware of old lead paint
Whilst lead-based paint is no longer commonly used in South Africa - if you are re-painting an older home for the first time, there is a chance that the existing paint may contain lead-based and/or asbestos materials.
As lead paint ages, it can chip or crumble into dust. Exposure to lead paint dust or chips can cause serious health problems, like lead poisoning, especially if exposed to children or pregnant women.
If you want to find out whether your home contains lead paint, you can purchase a lead test kit from your local hardware store or hire a contractor to determine whether there are any types of toxic materials present in your home, like lead-based paint as well as asbestos fibers.
It is essential to take caution when prepping your walls, should the existing paint contain lead.
Removing lead-based paint can be tricky as it can increase the risk of lead exposure and become a serious health hazard to you and your loved ones. For this reason, it should be handled by professionals.
If that is not an option financially, then ensure that your family remains a safe distance away from the building until you have completed the process.
To remove lead-based paint, it is important to wear protective clothing like a filter mask, gloves, goggles, and a disposable coverall that goes over your shoes to ensure you do not have direct contact with any harmful chemicals.
It is not necessary to remove lead-based paint entirely off the walls, especially if it is firmly intact. You must, however, remove any paint that is chipped or flaking as loose lead-based particles are the most dangerous.
Use a small chisel and medium-grit sandpaper with very light pressure to remove all lead-based chips. Do not use power sanders or direct heat to remove lead-based paint.
Lead-based paint that is in good condition and still intact can be left on the walls and safely painted over.
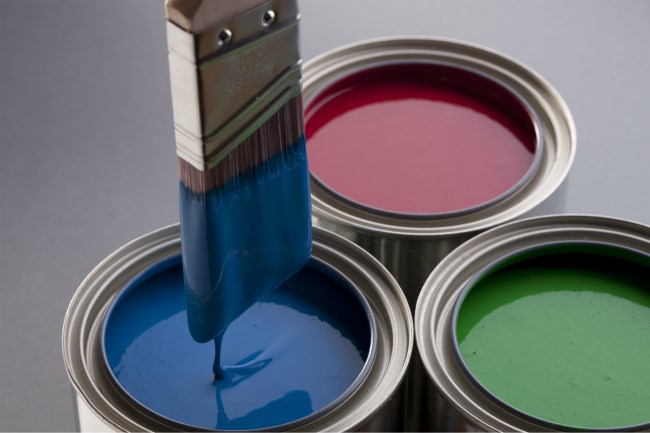
4. Apply the right number of coats
Applying the correct number of coats is essential to ensuring a job well done.
Most expert contractors recommend two coats of paint as opposed to one.
Two coats will outperform one coat in terms of durability, protection, washability, and getting the true colour as well as retaining it.
Other instances may require less or sometimes more than two coats of paint, for example:
Applying the same colour of paint may only require one coat.
Painting a darker shade over a light colour can be tricky as some paint shades don’t hide previous paint colours, as well as other shades, do, even when the previous colour may be of a lighter tint. In this instance, more than one coat of paint may be required.
Painting a lighter shade over a darker colour may require more than two coats of paint, depending on how much darker the existing paint is. To avoid having to apply several coats, you can save time and money by applying a high-quality oil-alkyd tinted primer before the new paint is applied.
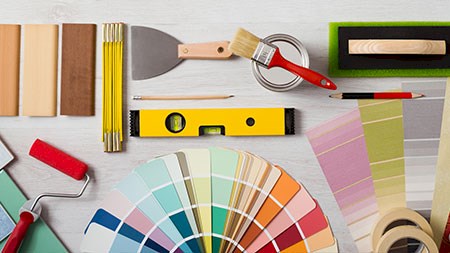
5. Use the right tools
It’s important to purchase the right tools for the job.
A high-quality brush, roller, and (for some houses) an airless sprayer, which can be bought or rented at a home improvement store.
According to most painting experts, the easiest way to apply primer and paint to textured surfaces is to spray it on with an airless sprayer, and then back-roll it by hand with a roller to ensure adhesion.
If you are using an airless sprayer for the first time, pay close attention to the equipment’s directions and gain a little experience by painting a less conspicuous side of the house first.
Using a paint strainer is also helpful to ensure the paint doesn’t clog the sprayer.
6. Wait for temperate weather
Timing is everything when it comes to painting your home.
To ensure a professional and smooth finish, avoid painting in direct sunlight or in extremely hot weather.
Hot weather causes the paint to dry too quickly, as does direct sun which is why it’s essential to try and paint on warmer days that offer plenty of shade.
Painting during rainy, dusty, or windy weather should also be avoided. Colder temperatures may prevent the paint from adhering to the surface properly and dampness or dew can also cause bubble surfaces.
To attain the best results, it is essential to plan your paint job in line with the correct season:
Summertime is usually when most homeowners decide to paint the exterior of their homes. In areas that enjoy mild, rain-free summers, you have a great opportunity to get the best results. However, if you live in an area that experiences extremely high temperatures and humidity, then painting during the summer should be avoided.
The Spring season is perfect for painting in most parts of South Africa as the temperatures are not too hot or too cold. Usually, after a harsh winter, the existing paint job of your home is drastically affected by high moisture levels (like in the Cape province) or dry, harsh temperatures (like those in the Highveld). Spring offers you the chance to fix up any wear-and-tear during mild temperatures, getting you great results before the heat or rain of summer sets in.
And while the Winter season may be the best time to paint the inside of your home, exterior painting is not recommended during these months, as the paint may not cure due to extreme cold temperatures as well as seasonal rain.
The Autumn season can be a good time to paint the exterior of your home if you are in a location that does not have high humidity and rainfall.
7. Cover and protect
Ensure the surrounding decks, gardens, walkways and patios are covered with plastic sheeting and protected against splatters of paint.
This will ensure a neat and tidy paint job and will save you the hassle of cleaning up.
If you use an airless paint sprayer, masking and covering the areas you want to avoid is imperative.
Be very careful of overspray and coating your neighbour’s walls with paint too!
8. Implement the right painting techniques
It is important to stick to proven techniques, especially if you plan on doing the painting yourself.
If you’re unsure of what technique works best, consider browsing the internet which has a wide range of free information, including expert videos on how to paint your home using the best techniques.
Painting from the top-down, (starting with overhangs) so fresh paint won’t drip on newly painted surfaces is the best option.
Continue with painting the sides of the home, and then, when it is dry, mask around windows and doors, and paint the trim.
Once you have completed painting the trim, remove the masking tape to ensure it doesn’t leave a residue.
9. Consider the use of a painting contractor
If you prefer to play it safe and enlist the help of a professional painter, be sure to get 3 quotations from at least 3 different contractors before deciding who to go with.
Obtaining more than one quote will allow you to compare prices and the type of workmanship you can expect from each – this will help ensure that you are choosing the best person for the job.