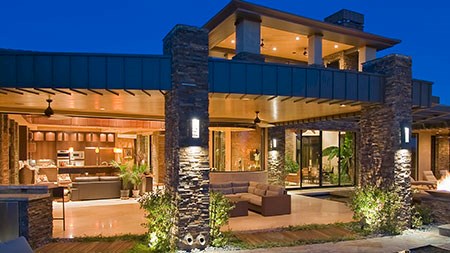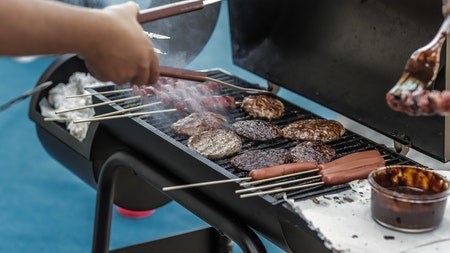
Pizza has become one of the most popular foods in the world and while we may be able to sate our appetites by ordering a take away option, nothing compares to a freshly baked homemade affair.
Manufactured pizza ovens tend to be a little pricey, however it is possible to build your own for a fraction of the price…and the good news is that you don't have to be a qualified builder in order to get the job done.
Brick ovens trap and radiate heat from a wood burning fire. The beauty of pizza is that is cooks quickly and as such the DIY oven doesn't need to be extensively insulated. The smoke that gives the pizza its distinct flavour is vented through a chimney.
What you will need:
Some sort of foundation. A concrete slab or table measuring at least 900mmx 900mm
Pizza ovens are dome shaped and you will need to construct a building frame using 3 x 18 x 420 x 700 mm shutter-board
1120 x 880 mm Masonite board
9 x 30 x 4 mm wood screws
Tools required:
- A tape measure
- A pencil
- A cordless screwdriver
- A hand saw or jigsaw
- A spirit level
- A rubber mallet
- A mason's chisel
- A brick trowel
- A brick jointer
- A 2-pound hammer
- A sponge
- A bucket
To build the oven:
64 fireproof bricks for the oven walls
20 fireproof bricks for the cooking base
12 fireproof bricks for the chimney
4 bags of sand
1 bag of refractory cement.
Getting started:
Before you start building, you need to construct the frame over which the bricks for the walls of the pizza oven will be laid.
Cut three ribs out of the shutter-board according to how large the required oven will be. The dome is this instance measures 1200mm in diameter, 700mm wide and 880mm long. Space the ribs equally along the length of the Masonite board, then bend the board over the curve of the ribs and attach with screws.
Once the frame is assembled you can start building.
Soak the bricks in water for 10 to 15 minutes before you apply the fire-resistant mortar. Position the frame in the centre of the concrete slab and mortar a single row of fireproof bricks along one side and then along the other side of the frame. You will need four bricks placed lengthways for each side. These two rows of bricks will be parallel, on either side of the frame. Use the wider side of the brick jointer to smooth out the mortar between the bricks and the concrete base.
Remove the frame and, using the brick trowel, mortar three more bricks on each end of the parallel rows, creating a brickwork frame. Clean the space enclosed by this brickwork frame with a sponge and water in preparation for mortaring the cooking surface bricks into it on the diagonal. DO NOT mortar the sides of the cooking surface bricks, only the base. Butt up the bricks as close together as possible.
Measure the bricks, marking with a pencil where they need to be cut in order to fit the small remaining spaces after the full-sized bricks that will form the cooking base have been placed. Cut the bricks to the required size by striking the end of the chisel with a two-pound hammer along the drawn pencil line using the mason’s chisel. Alternate the scoring on each side of the brick until it breaks cleanly.
Replace the pizza oven frame on top of the base and mortar the first layer of bricks against the frame. The first course of bricks needs to be flush with the sides of the frame, so use a rubber mallet to even out the bricks as you go.
Stagger the second through fourth courses of bricks, following the contour of the frame, and repeat on the other side up to the seventh row. Return to the first side of the frame, staggering further layers of bricks, but leaving two rows unfinished at the top.
Position four bricks for the chimney half a brick-length from the front of the oven, and mortar the eighth row behind and in front of the chimney. Mortar and stagger three more courses of bricks to form the chimney. Check that the bricks are placed at 90º to create a perfect square.
Mortar and stagger bricks to the top of the oven to close up the back wall – you will need to cut some bricks with the mason's chisel to fill the gaps and follow the curve.
Remove the Masonite frame after 48 hours and then leave the pizza oven to dry for a further 3-4 days before the first firing. It's important to note that the oven can only be used for baking seven days after it's been cured.
Curing the oven:
Chemical firefighters should never be used in an oven of this type. With that in mind; on the first day light ONE piece of firewood and burn it through; on the second day burn TWO pieces of wood and on the third day THREE pieces. Continue increasing the wood daily until the seventh day, when you start by burning three pieces of wood and then add four more pieces when the fire starts to die down.
Building Instructions courtesy of The Gardener Magazine