90 m² Commercial space in Erasmusrand
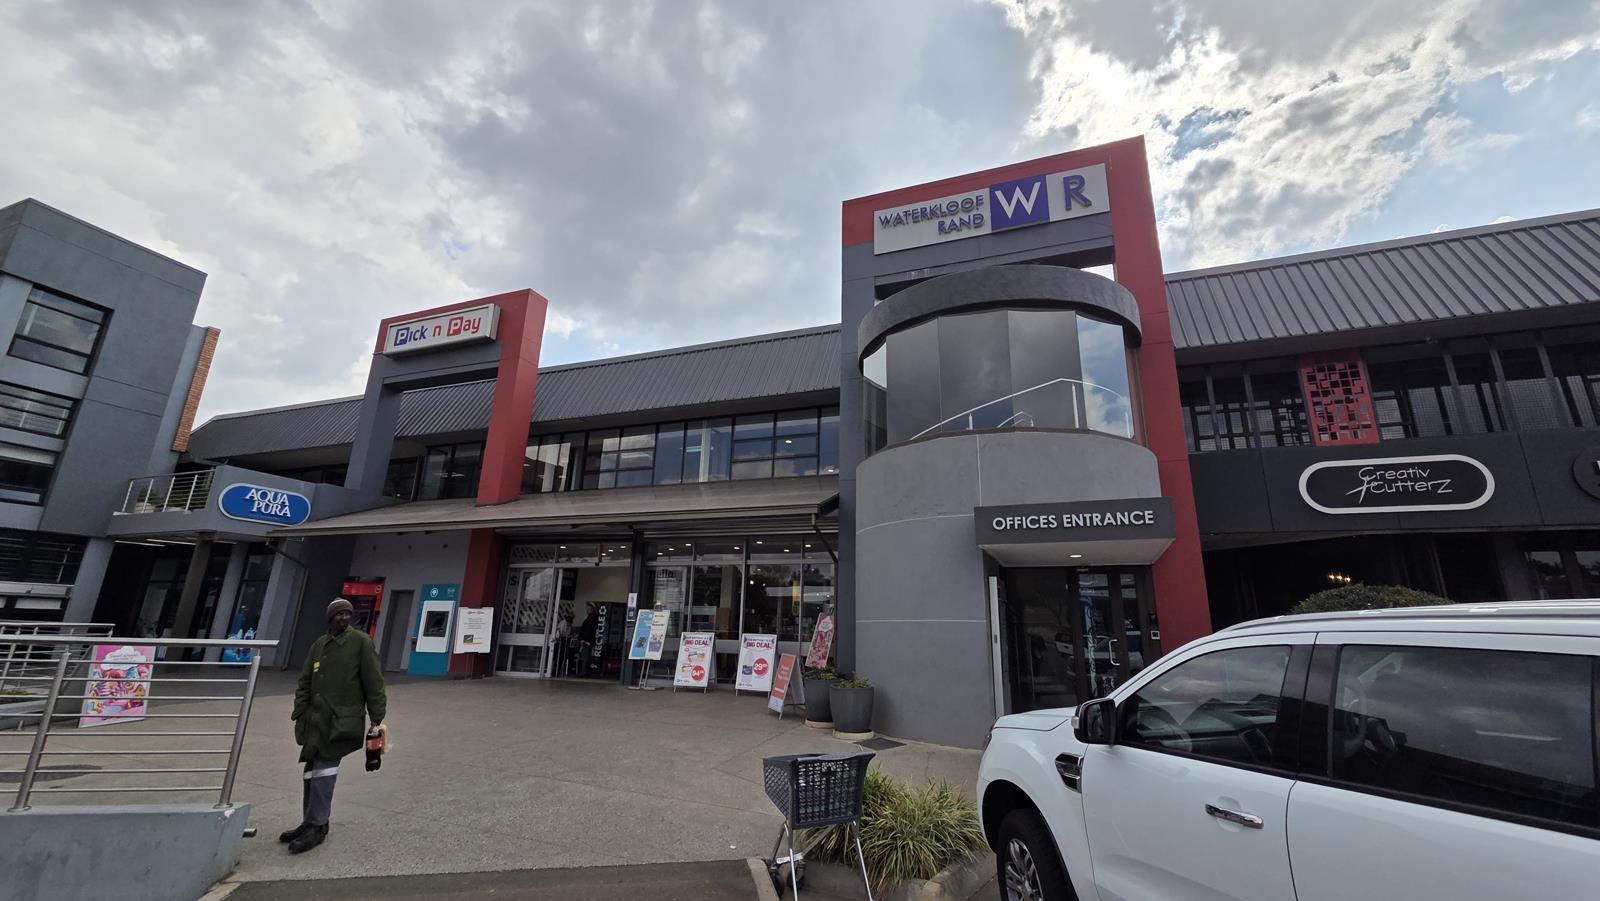
WATERKLOOFRAND CENTRE [removed] BUFFLESDRIFT STREET [removed] ERASMUSRAND [removed] PRETORIA
WATERKLOOFRAND CENTRE | 90 SQUARE METER OFFICE TO RENT | BUFFLESDRIFT STREET | ERASMUSRAND | PRETORIA
BACK UP GENERATOR
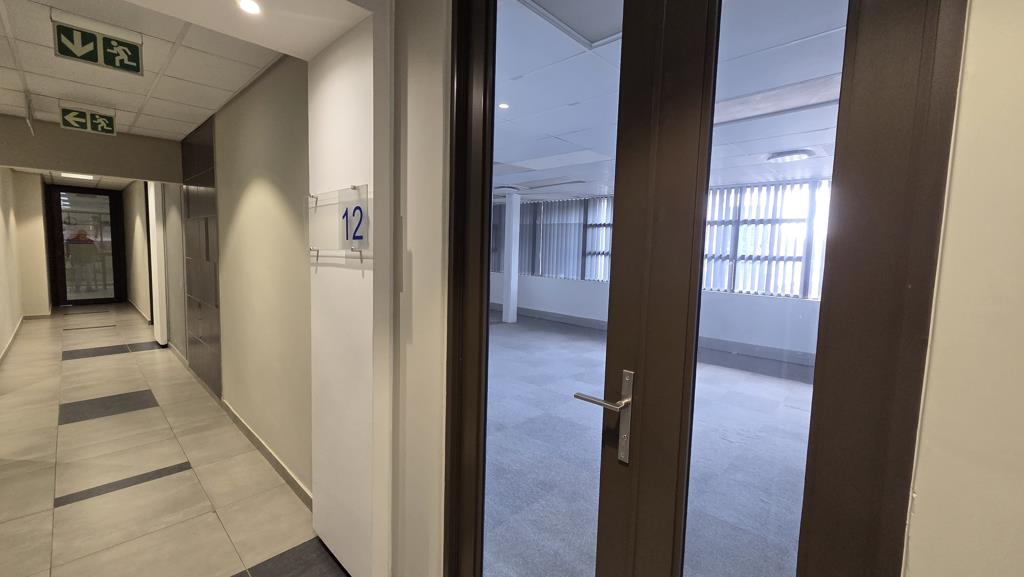
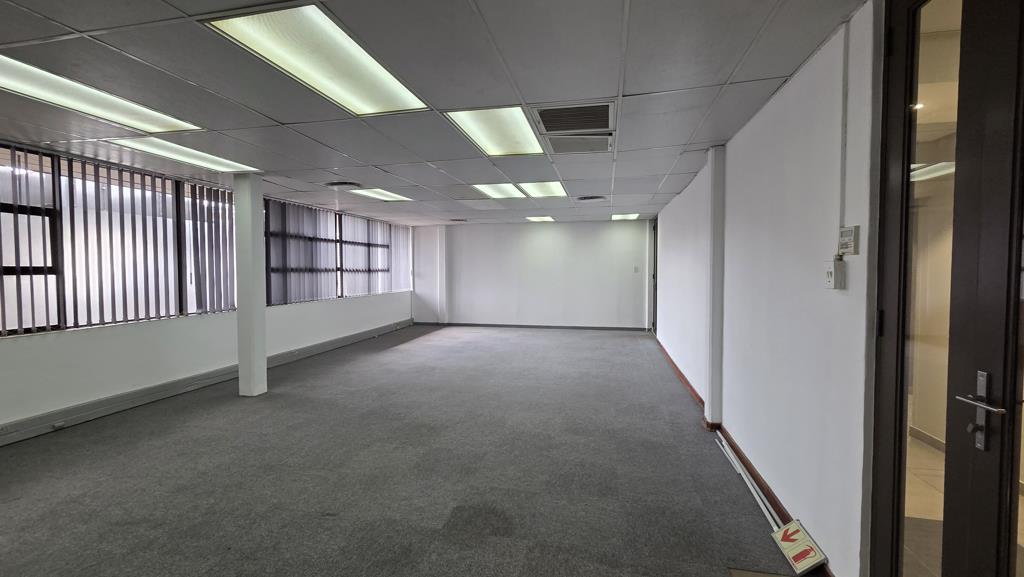
Situated on Buffelsdrift Street, this prime commercial location is perfect for any corporate business based in the large business hub of Pretoria East. Waterkloofrand Centre presents to you an 90 square meter office suite to rent. This commercial unit to let is an open plan work space, a kitchen and communal ablution facilities. The unit features air-conditioning to contribute to enhancing the air quality in the workplace and fibre connectivity for fast and reliable internet access. The working space is fitted with neat carpet flooring and large blinds allowing natural light to brighten up the office and back power supply to help keep productivity flowing during load shedding.
Waterkloofrand Centre hosts popular anchor tenants such as Pick N Pay, which attract and maintain the high volumes of foot traffic within the Centre. Surrounding this property is multiple other main attractions such as Castle Gate development, Waterkloof Marina and Kloof Hospital among many others. It has easy access to several highways and main arterial roads such as Solomon Mahlangu Drive, Cliff Avenue and Rigel Avenue as well as the R21 and N1 highways allowing a great travelling experience to surrounding suburbs.
Waterkloofrand Centre provides elevator access making the office wheelchair friendly, 24-hour security and a backup power supply with neatly maintained gardens and landscaping with secure tenant and visitors parking.
Gross Rental Includes:
- Operational Costs
- Rates
Gross Rental Excludes:
- VAT
- Water
- Electricity
- Parking Bays
Property details
- Listing number RR4452145
- Property type Commercial
- Listing date 22 Jul 2025
- Land size 90 m²
- Floor size 90 m²
Property features
- Open parking 3